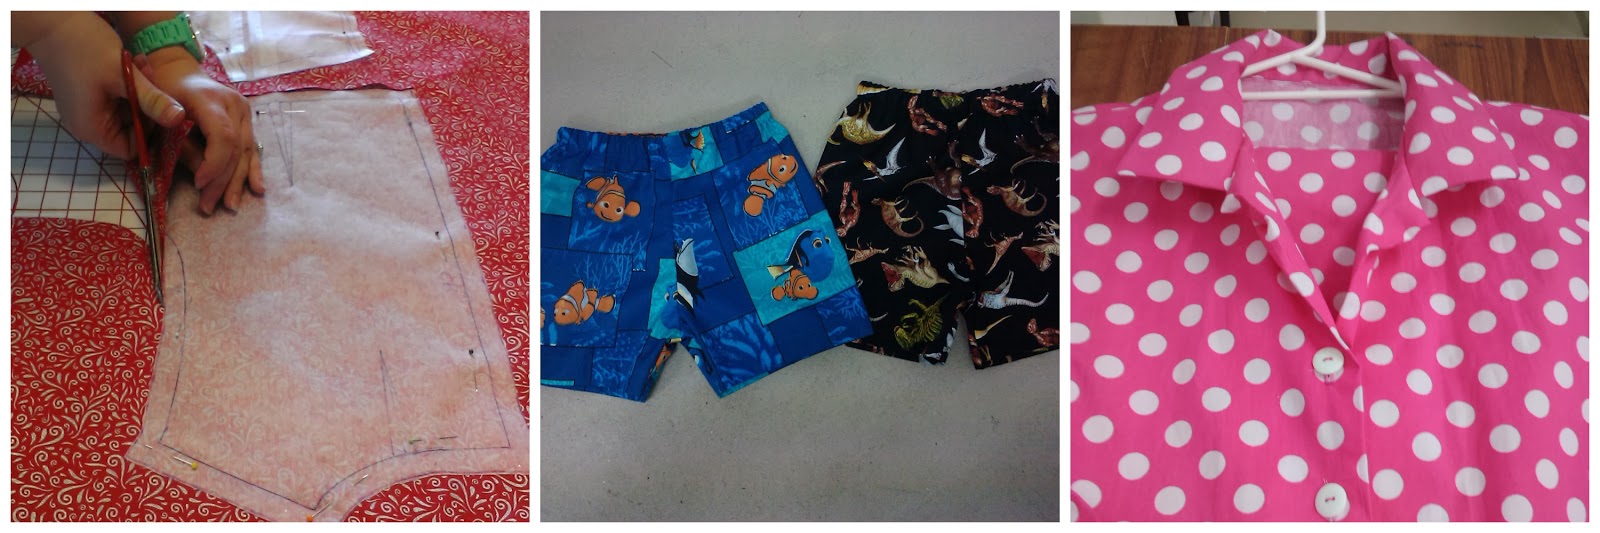
Showing posts with label how to. Show all posts

Wednesday, 16 July 2014

Casual Vacancy

A vacancy in my casual sewing classes
has become available
fortnightly on a Thursday
9.30 - 2.30
$45
Work on your own projects in my Studio -
Maybe you need a little extra help for that special project, or you just need to dedicate time to sewing...
Give me a call 0402 309 047 or

Friday, 27 June 2014

Vogue Sewing

Mark found this Vogue Sewing book for me at the second
hand book shop at Jimboomba.
I love reading through it.
Some of the photos are a bit dated, but the techniques are always useful.
Have you noticed that often patterns tell you to do something,
but don't actually tell you HOW to do it?
That's why you need a fantastic reference book like this.
( Or you come to class and I'll show you how of course)
The latest version is quite expensive, so keep your eyes out for old versions at second hand shops. I also have a McCalls and Simplicity version too.
The picture of the sewing machine features is quite basic, but those important features haven't really changed.

Saturday, 14 June 2014

Teddy Bears in Progress

Teddy Bear Classes are going to continue on a fortnightly basis.
You can join at any time and make your own furry teddy.
All requirements are supplied for your first bear.
Mob 0402 309 047

Tuesday, 29 April 2014

3 Fat Quarters and a Skirt


At the Boonah Guides Quilt & Craft Show recently,
I bought 3 fat quarters from http://www.apatchyquilting.com.au/ 
and set myself the challenge of making a skirt from them.

I kept it simple - a 6 gore straight self drafted skirt.
The right front and back panels are contrast to the other 4 panels.
I made sure I planned the pattern layout carefully before cutting out, because I wanted the right front & right back panels to be yellow.
Remember to measure twice and cut once.
 
Sigh, vanity makes you unpick.
The master pattern was drafted a couple of years ago, and
it seems a centimetre or two as well. The skirt was a bit snug with
15mm seams so I restitched them using a 4-thread overlock
and unpicked the machine stitching. Much better.
Of course then the facings didn't fit, so I lined the skirt
without a facing and under stitched it at the waistline.
I love under stitching - it's the perfect finish for linings and facings.

I pressed the seams away from the centre panels and
topstitched using a yellow/gold rayon embroidery thread
and my ditch stitch foot.

Hems are so easy on straight skirts.
I overlocked the raw edges and turned up a 1" hem, and also tucked
under the overlocking (just because I felt like it) making it a 3/4" finished hem.
If you are going to finish the hem this way (no visible raw edges) it is not necessary to overlock first. It was a last minute decision.
The easiest way to measure a straight hem is to place the
skirt wrong sides up over the end of the ironing board.
Then measure 2" (twice the finished hem width) from the
overlocked/raw edge and poke a pin into the ironing board.
Fold the raw edge up to the pin, move the pin to secure hem,
and press before sewing.

I used an invisible zipper in the side seam.

The sewing up was relatively quick and easy. It just takes a little
time to plan something not straight out of the box.

A great way to spend a Sunday afternoon.

Wednesday, 26 February 2014

Learn To Sew - Tuesday Evening classes starting soon


LEARN TO SEW
Tuesday evening class starting soon (6 x 3hrs)

This  course enables beginner or refresher students to start reference samples & sew a pair of pyjamas featuring  a collared shirt and elastic waist boxer shorts. Techniques covered may include hems, seams, zips, gathering, buttons and buttonholes, corners and curves, basic stitches, collars, pockets, sleeves, elastic casing, & patch pockets. Students will also learn about the use and care of your machine, the importance of quality, needles, threads, fabric choices, selecting the correct pattern size, anatomy of patterns, and basic pattern adjustments. During class students will also learn to use an overlocker for basic overcasting.

Students will need to bring their own sewing machine and supplies.
Details available upon registration.

Students must be able to attend all classes.
Due to the format of the course catchup classes can not be offered.


Tuesday, 7 February 2012

How to Make Ribbon Trim - Threads

How to Make Ribbon Trim - Threads
This is a lovely dimensional trim made from ribbon. Details are by Kenneth King for Threads Magazine